Kitchen Renovation. Our goals:
- A new natural wood floor
- New & more numerous cabinets
- More light
- More horizontal surfaces
With these goals in mind, we began our adventure in early July.
The first step is to remove the old cabinets. Here, you can see
me poised with a "Sawzall"™, used in demolition
work. It is a reciprocating saw, like a jigsaw, that is mounted
on what feels like a shotgun.
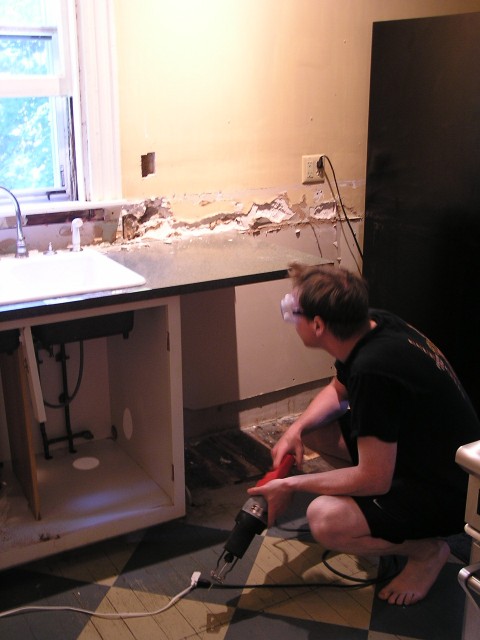
The area that looks strafed with automatic weapons fire was our
tile back splash. It is one of the first things to go. Notice the
old painted floor. The painted tiles were a cool idea (Thanks Katie!)
but the paint is wearing off and the floor needs repair.
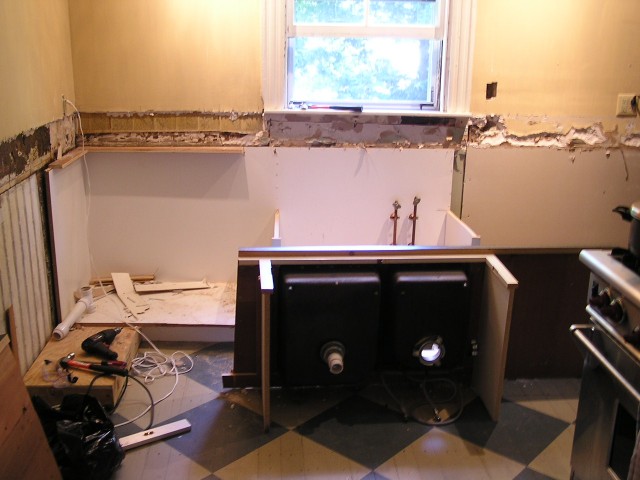
Also in the above picture, you can see long water pipes sticking
up from the old sink base. These are problematic. There's no way
to remove the base cabinet without cutting a hole for those pipes
to fit through. Our solution: sink decapitation.
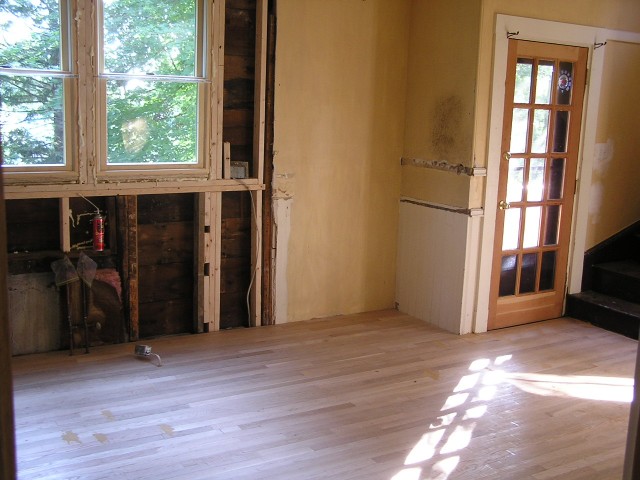
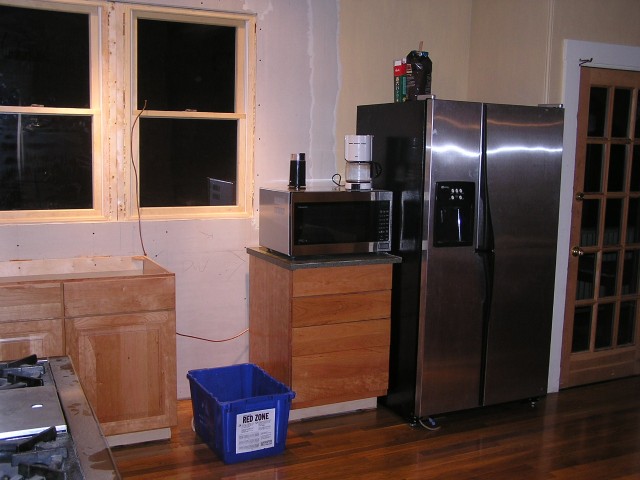
In this next picture, you can see the new double window our contractor,
George,
installed. You can also see the freshly sanded but un-coated white
oak floor.
All the old cabinets are out and we're ready for the new ones. We
rent a U-Haul, narrowly avoid death by car accident, drive to New
Hampshire, and bring home...
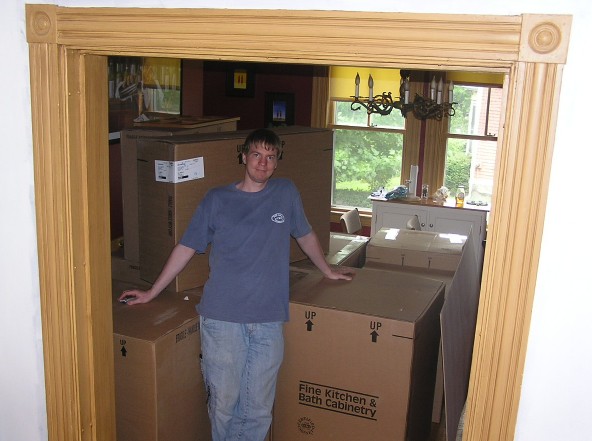
... cardboard boxes!
Okay, there were cabinets inside the cardboard boxes.
My uncle Bob put on his best Hawaiian shirt and helped us install
the cabinets. Look at how level his drilling skills are! Thanks,
Bob!
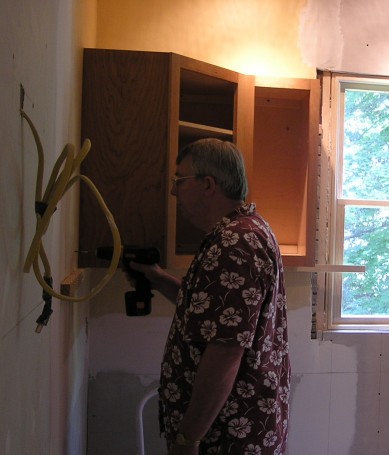
In just one day, we have all the wall cabinets in place.
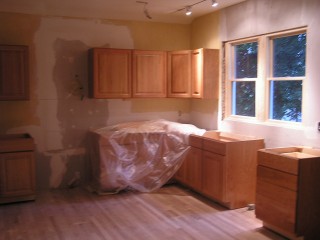
We've satisfied many of our kitchen goals. We're going for bonus
points now. Time to re-sand and re-urethane the whole first floor!
Wrap up the surround sound system!
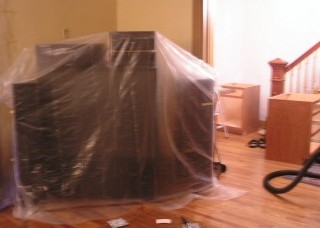
Prepare for sawdust!
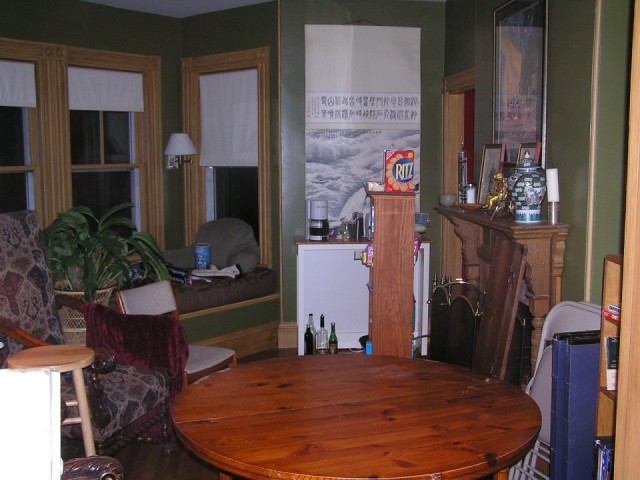
Jam everything into one room!
Slather three coats of shiny polyurethane! (thanks to Wood
Pro!)
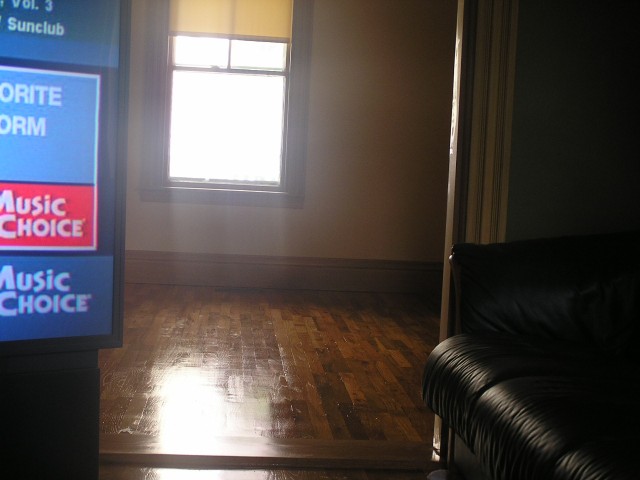
Hold on to your breath for a few days! Now enjoy your new floor
and kitchen -
Oops. Still don't have a sink or countertop yet. :(
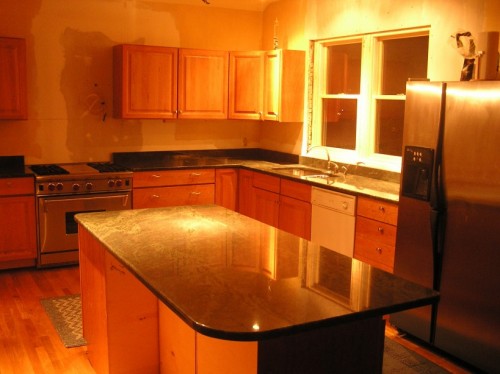
Update: The counters have arrived! This is a closeup of the island
granite:
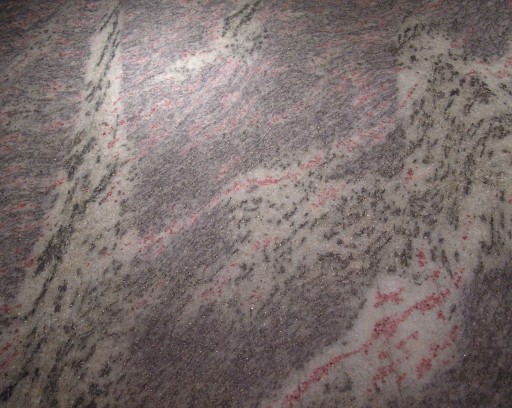
The pattern is "Hawaiian Green", a complex blend of green,
pepper, cranberry and cream colors. This is how things look right
after installation:
The next two steps are to plumb the sink and install more lights.
The sink is a stainless steel undermount:

The advantage of an undermount is that there is no rim on the counter
to collect water and grime. The right basin has the garbage disposal,
so chopped veggie debris slides right off the counter and into the
sink!
Mathieu has done a perfect job installing new track lights:
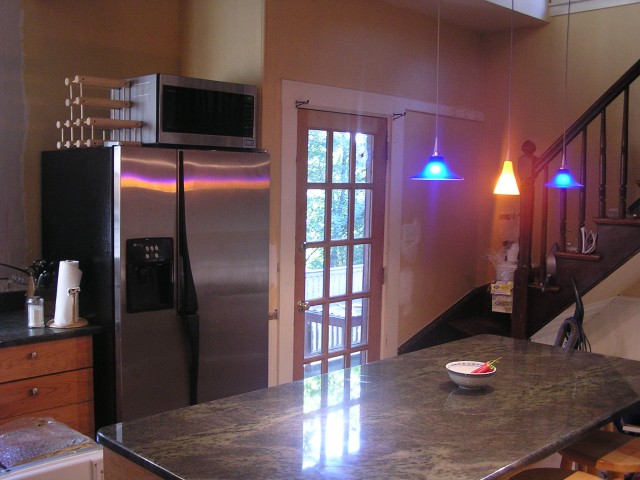
You can see the dishwasher on the floor in the lower left corner.
One of the gaskets ripped, and we need to replace a hose. We also
need to install the hood over the stove and paint all the walls.
The kitchen saga continues!
